
Welcome to the World of No-Knead Turkish Bread!
Hey there! Today, I’m excited to share a recipe for No-Knead Turkish Bread that’s not only fluffy and golden but also super easy to make right on your stovetop. You don’t need an oven, and trust me when I say, your kitchen will smell amazing! This bread is perfect for dipping, pairing with soups, or enjoying on its own. So, let’s grab our ingredients and get started!
Nutritional Benefits
Homemade bread not only tastes better but can also be healthier than store-bought options. With just a few simple ingredients, you control what’s going into your bread. The olive oil adds healthy fats, while the optional garlic gives a boost of flavor and some fantastic health benefits, too! Garlic is known for its immune-boosting properties and might even help lower blood pressure. Plus, you can adjust the salt and sugar to fit your dietary needs, making it a wholesome choice.
Fun Variations to Make
- Herbed Delight: Add dried herbs like oregano or thyme to the dough for an extra flavor kick.
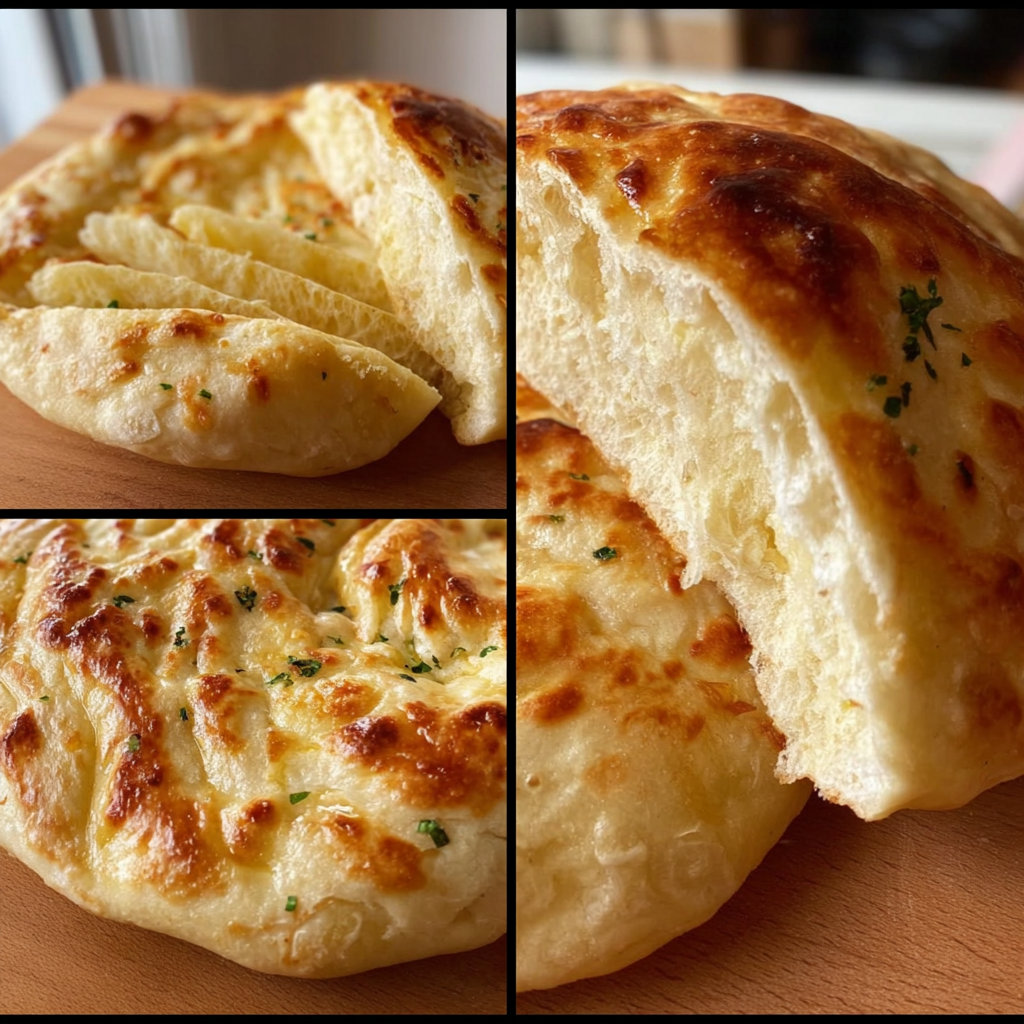
- Cheesy Goodness: Sprinkle some shredded cheese on top of the dough before cooking for a cheesy twist.
- Sweet Treat: Swap some of the flour for whole wheat or even add a tablespoon of honey instead of sugar for a sweeter loaf.
Let’s Make Some No-Knead Turkish Bread!
Ingredients
- 2 cups all-purpose flour
- 1 teaspoon instant yeast
- 1 teaspoon salt
- 1 tablespoon sugar
- 1 cup warm water (105°F to 110°F or 40°C to 43°C)
- 2 tablespoons olive oil (plus extra for frying)
- Optional: minced garlic (for flavor)
- Optional: chopped fresh parsley (for garnish)
Cooking Instructions
- In a large mixing bowl, whisk together the all-purpose flour, instant yeast, salt, and sugar until everything is nicely blended.
- Slowly pour in the warm water and 2 tablespoons of olive oil into the dry ingredients. Use a wooden spoon or spatula to mix until a rough dough forms.
- Once your dough is coming together, cover the bowl with plastic wrap or a kitchen towel. Let it rise in a warm place for about 1 hour or until it’s doubled in size. Trust me, the waiting will be worth it!
- After that hour, lightly flour a clean surface and gently turn out the dough. Remember, we’re keeping it no-knead, so just stretch it gently into a rough round shape.
- Now, divide your dough into equal portions, roughly 2-4 pieces depending on how big you want your breads.
- Preheat a non-stick skillet over medium heat. Drizzle a little olive oil in there to coat the bottom.
- Take one portion of dough and flatten it out by hand into a round disk about ½ inch thick. Don’t stress about perfection; rustic is good!
- If you want that extra garlic kick, sprinkle minced garlic on top of the dough and press it in lightly.
- Carefully place your flattened dough onto the heated skillet. Cover it with a lid and cook for about 3-5 minutes on one side until it’s golden and fluffy.
- Once that side is golden, flip the bread gently and cook the other side covered for another 3-5 minutes until it’s perfectly golden all around.
- Repeat with the remaining portions, adding more olive oil to the skillet as needed. A little oil keeps things nice and crispy!
- Once all the breads are cooked, feel free to garnish with chopped fresh parsley if you’re feeling fancy. Serve warm and enjoy!
Practical & Valuable Tips
- Make sure your water is just warm—not hot! If it’s too hot, it can kill the yeast, and we don’t want sad dough.
- Letting the dough rise in a warm spot is key. If your kitchen is a bit colder, try letting it rise in the oven (turned off!) with the light on.
- For tastier results, consider adding a touch of herbs or spices into the dough before you let it rise.
- These breads are best enjoyed fresh but can be kept in an airtight container for a day or two. Just reheat them in a hot skillet to revive that fluffy goodness!
- If you have any leftovers, slice them and use them for sandwiches or toast—so versatile!
Equipment Needed
To whip up this delicious bread, here’s what you’ll need:
- A large mixing bowl
- A wooden spoon or spatula
- A non-stick skillet with a lid (or a frying pan that you can cover)
- A clean surface for shaping the dough
- A measuring cup and spoons
Frequently Asked Questions
- Can I use whole wheat flour instead of all-purpose flour? Yes, but it may change the texture slightly. You might need a bit more water.
- Is it essential to use instant yeast? If you have active dry yeast, you can use it too! Just activate it in warm water for a few minutes before adding it to the flour.
- What if I don’t have a non-stick skillet? You can use any skillet, but make sure to grease it well to prevent sticking.
- Can I add other flavors, like cheese? Absolutely! Sprinkle cheese on the dough before cooking for a delicious twist.
- How should I store leftovers? Keep them in an airtight container at room temperature for up to 2 days, or refrigerate them for longer freshness.
Join Me in the Kitchen!
Did you try making No-Knead Turkish Bread? I can’t wait to hear how it turned out for you! If you enjoyed this recipe, follow me on Pinterest for more fun and easy meals. Together, let’s continue to make wonderful flavors right at home!
