
Hey there, Halloween enthusiasts! 🎃 Are you ready to bring some spooky spirit to your dessert table? There’s nothing more fun than a Halloween-themed cake that looks great and tastes even better! I absolutely love making this cake because it’s not only delicious with its rich flavors, but also so much fun to decorate. This cake is a guaranteed crowd-pleaser that will make your Halloween party unforgettable. Plus, the kids can even help decorate it, making it an awesome family activity!
Why You’ll Love This Halloween Cake
This Halloween cake is fantastic not just because of its cute spooky decoration, but it also brings some great health perks if you choose the right ingredients. For starters, using whole wheat flour instead of all-purpose flour can increase the fiber content. Plus, you can swap out sugar for applesauce for sweetness without all the guilt—kind of a win-win for our taste buds and our bodies!
Fun and Spooky Variations
- Colorful Layers: Bake the cake in different colors like orange, purple, and black to reflect the Halloween theme. You can use food coloring to achieve this!
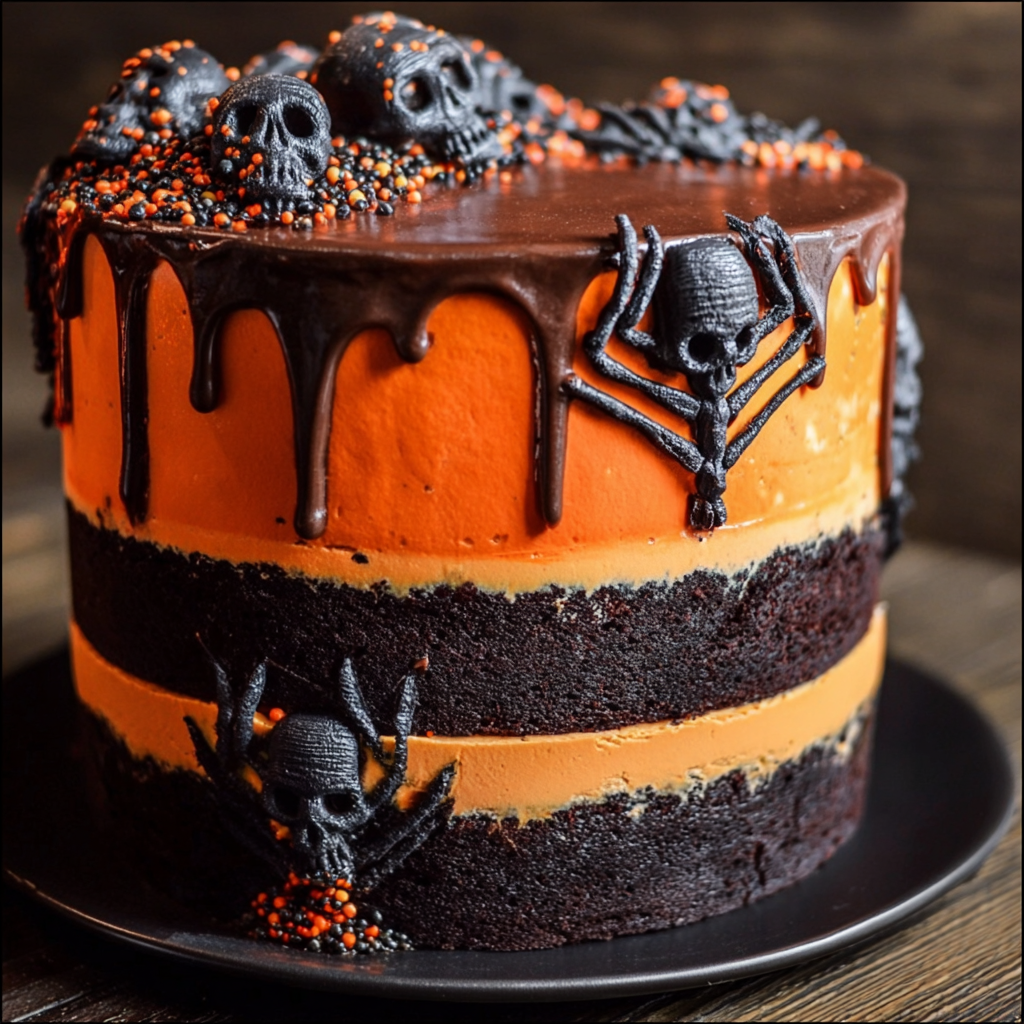
- Gummy Worms and Spiders: Use gummy worms and chocolate spiders for decoration on top of the frosting—it makes the cake extra creepy and fun!
- Gluten-Free Option: Switch out regular flour for a gluten-free blend and you’ll have a treat that everyone can enjoy.
Delicious Halloween Cake Recipe
Ingredients
- 2 cups all-purpose flour (or gluten-free blend)
- 1 ½ cups granulated sugar
- 1 cup unsweetened cocoa powder
- 1 ½ teaspoons baking soda
- 1 teaspoon baking powder
- 1 teaspoon salt
- 1 cup buttermilk (or almond milk for a dairy-free version)
- ½ cup vegetable oil
- 2 large eggs
- 2 teaspoons vanilla extract
- 1 cup boiling water
Instructions
- Start by preheating your oven to 350°F (175°C) and greasing two 9-inch round cake pans.
- In a large bowl, mix together the flour, sugar, cocoa powder, baking soda, baking powder, and salt until well combined.
- Add the buttermilk, oil, eggs, and vanilla to the dry ingredients, mixing until smooth.
- Slowly stir in the boiling water until the batter is well combined; it will be thin, but that’s just right!
- Pour the batter evenly into the prepared cake pans and bake for 30-35 minutes, or until a toothpick inserted in the center comes out clean.
- Let the cakes cool in the pans for 10 minutes before transferring them to a wire rack to cool completely.
- Once cooled, frost with your favorite frosting and decorate with Halloween treats.
Valuable Tips
- For extra moistness, try using between ½ to 1 cup of applesauce instead of half the sugar.
- Use a serrated knife to level off your cake layers for a nice flat base—this makes stacking the layers easier.
- Store any leftovers in an airtight container to keep them fresh for days. You can also freeze the cake for later—just wrap it well!
Equipment Needed
Here’s a list of everything you’ll need to make your Halloween cake:
- Two 9-inch round cake pans
- A mixing bowl (two for separating dry and wet ingredients)
- A whisk or mixer for combining the ingredients
- A measuring cup and spoon for accuracy
- A spatula for frosting and decorating
- A wire rack for cooling the cakes
Frequently Asked Questions
- Can I use a different frosting? Absolutely! Cream cheese frosting, buttercream, or even whipped cream can all be delicious options for this cake.
- How do I make Halloween-themed decorations? You can use store-bought Halloween candy, colored icing, or even edible glitter for a spooky effect!
- Can I make this cake a day in advance? Sure! Just bake the cake, let it cool completely, wrap it in plastic wrap, and store it at room temperature until you’re ready to decorate.
- What if I want a bigger cake? You can double the recipe and use a larger pan—just adjust the baking time accordingly!
- How can I make this cake dairy-free? Substitute buttermilk with almond milk (or any non-dairy milk) and use dairy-free alternatives for frosting.
Are you excited to whip up this spooky Halloween cake? I’d love to see how yours turns out! Share your creations on Pinterest, and let’s make this Halloween extra sweet and memorable together! Happy baking!
