
Hey There, Let’s Make Gooey Chocolate Meringue Cookies!
If you’re anything like me, you love a sweet treat that feels both light and indulgent. These gooey chocolate meringue cookies are just that—a perfect little cloud of sweetness with a melty chocolate twist on top. I remember the first time I made them; I was amazed that simple ingredients like egg whites and sugar could turn into something so dreamy! Plus, they don’t take long to whip up, and they make for a show-stopping dessert or snack.
Why I Love These Cookies (And You Might, Too!)
The magical thing about meringue cookies is their texture—crispy on the outside but soft and gooey inside. Adding that whipped cream and chocolate drizzle gives you a fun way to enjoy chocolate without it being too heavy or dense. Also, since these cookies are largely egg whites and sugar, they’re naturally gluten-free (if you use cornstarch) and super light compared to other chocolate desserts.
One More Bonus: You Can Your Way, My Way (Variations You’ll Enjoy!)
- Dairy-Free Option: Use coconut cream or a dairy-free whipped topping instead of heavy cream—the flavor twist is delightful.
- Nutty Delight: Sprinkle chopped toasted almonds, hazelnuts, or pistachios on top along with chocolate chips for extra crunch.
- Flavored Meringue: Swap vanilla extract for almond or peppermint extract for a holiday twist that’s fun and festive.
- Extra Chocolate: Fold mini chocolate chips gently into the meringue before baking for little pockets of chocolate inside the cookie.
Your New Favorite Gooey Chocolate Meringue Cookies
Ingredients You’ll Need
- Egg whites (for the meringue base)
- Granulated sugar
- Cream of tartar (optional, helps stabilize the meringue)
- Cornstarch or all-purpose flour (just a small amount to add structure)
- Vanilla extract
- Heavy cream (for the whipped cream topping)
- Powdered sugar (to sweeten the whipped cream and dust the plate)
- Mini chocolate chips (for topping)
- Chocolate syrup or melted chocolate (to drizzle)
Simple Step-by-Step Instructions
- Start by preheating your oven to 250°F (120°C) and line a baking sheet with parchment paper.
- In a clean bowl, beat the egg whites along with cream of tartar until soft peaks form. This means when you lift the beaters, the peaks flop over gently, not too stiff yet.
- Slowly add granulated sugar, continuing to whip until you get glossy, stiff peaks that hold their shape and shine.
- Carefully fold in the cornstarch (or flour) and vanilla extract without knocking out the air you just whipped in.
- Using a spoon or piping bag, dollop small rounds of the meringue on your parchment-lined baking sheet, giving each a cute little peak on top.
- Bake these beauties for about 20-25 minutes, then turn off the oven but leave the cookies inside for another 20-30 minutes. This helps them dry out while keeping the inside deliciously gooey.
- Take the cookies out and let them cool completely on the baking sheet.
- While the cookies cool, whip your heavy cream with powdered sugar and a little vanilla extract until stiff peaks form—fluffy and ready to top your cookies.
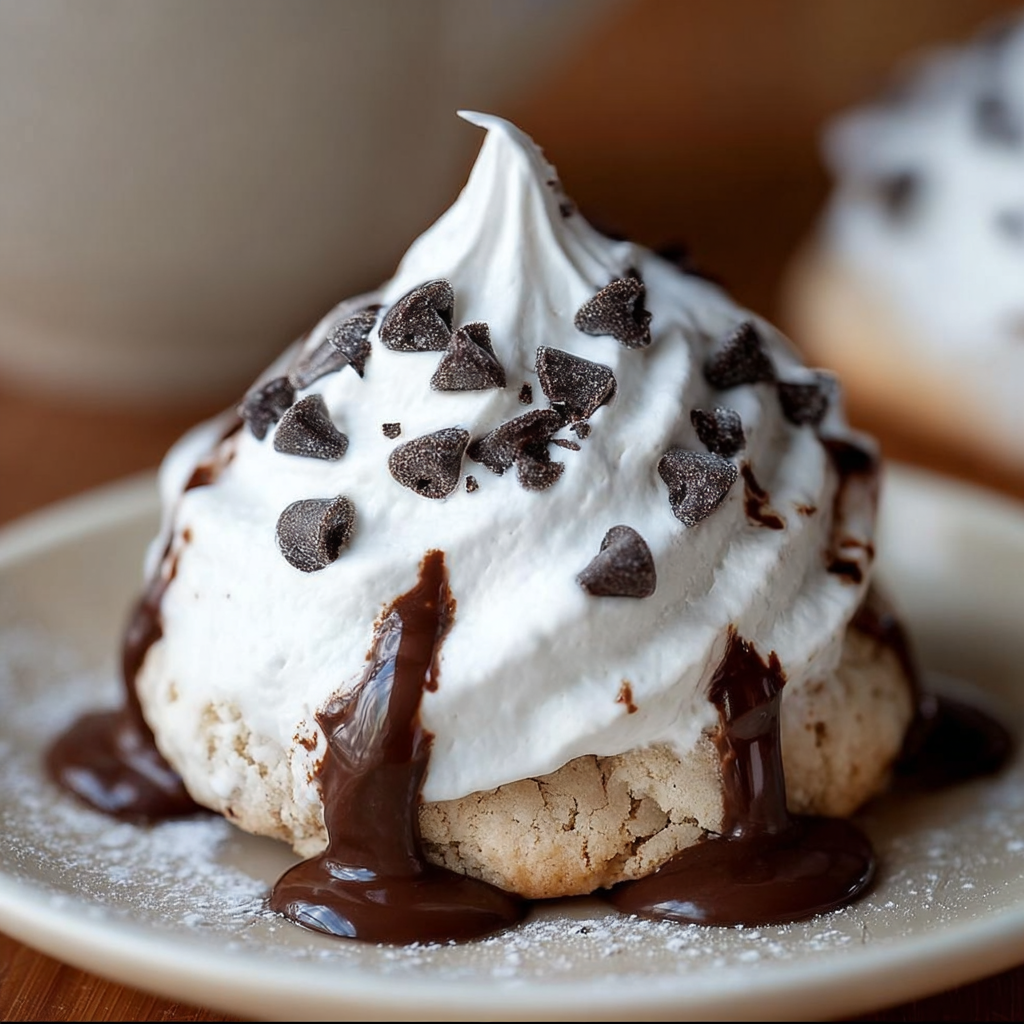
- Once the cookies are cool, top each with a generous swirl of whipped cream.
- Drizzle melted chocolate or chocolate syrup over the whipped cream in a pretty pattern.
- Finish by sprinkling mini chocolate chips on top for that fun texture and flavor pop.
- Don’t forget to dust the serving plate lightly with powdered sugar for a charming finish. Serve right away and enjoy that dreamy gooey, chocolatey goodness!
Helpful Tips for Success
- Keep your mixing bowls and beaters super clean: Any grease can prevent egg whites from whipping up correctly.
- Use room temperature egg whites: They whip better and faster, making your meringue fluffier.
- When folding: Be gentle to keep all the air in your meringue—that’s what makes the cookies so light!
- Serving suggestion: These cookies taste best fresh, but if you need to store them, keep them in an airtight container and add the whipped cream and toppings right before serving.
- Don’t skip the cooling step on the baking sheet: It helps the meringues set properly without cracking.
What You’ll Want in Your Kitchen (Equipment List)
- Mixing bowls (preferably metal or glass, not plastic)
- Electric mixer or stand mixer with whisk attachment
- Baking sheet
- Parchment paper to line the baking sheet
- Spoon or piping bag to portion the meringue
- Spatula for folding ingredients
- Small saucepan or microwave-safe bowl for melting chocolate (if making your own drizzle)
- Whisk or electric mixer for whipping cream
Frequently Asked Questions About These Meringue Cookies
- Can I use regular flour instead of cornstarch?
Yes, you can use a small amount of all-purpose flour, but cornstarch is preferred as it keeps the meringues lighter and more delicate. - What’s the purpose of cream of tartar?
Cream of tartar helps stabilize the egg whites so your meringue holds its shape better and lasts longer, but it’s not essential. - Can I make these cookies ahead of time?
You can bake and store the plain meringue cookies in an airtight container for a few days. Just add the whipped cream and toppings right before serving for the best texture. - How do I know when the meringue peaks are just right?
When you lift the whisk, soft peaks gently flop over, and stiff peaks stand straight up with a shiny, smooth surface. For baking, you want stiff peaks. - What if my meringue cracking or spreading?
Make sure you bake low and slow at 250°F (120°C) and don’t open the oven while baking. Also, be gentle when folding to avoid deflating the mixture.
Ready to Wow Your Tastebuds?
I hope you’re as excited as I am for you to try this recipe! These gooey chocolate meringue cookies are a wonderful way to enjoy something sweet, light, and chocolaty without the fuss. When you make your batch, do me a favor—snap a pic and share it on Pinterest or tag me. I’d love to see your beautiful creations and hear how you made these your own with different toppings or flavors. Happy baking and chocolate loving!
