
fellow food lover!
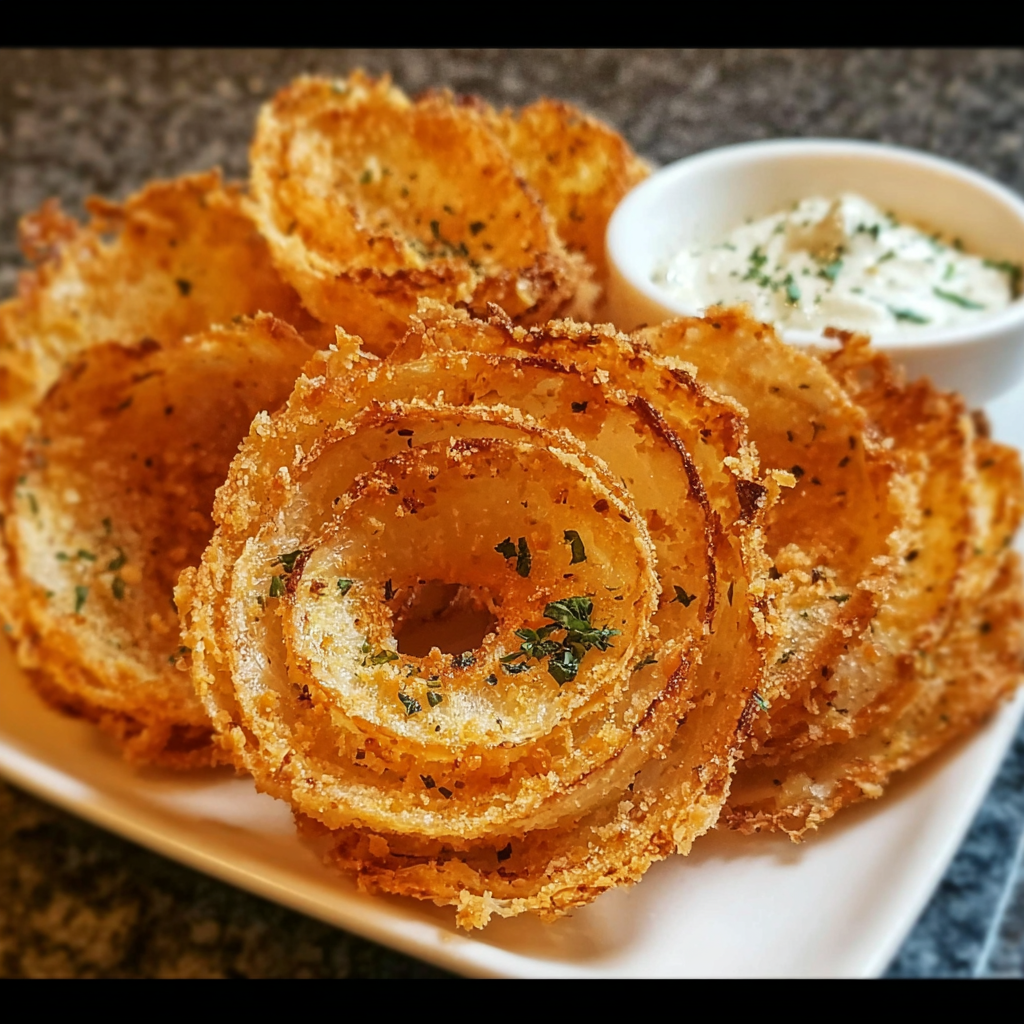
If you’re like me, there’s something about the crunch of crispy onion rings that makes you feel all warm and fuzzy inside. They’re the kind of snack that pairs perfectly with everything—burgers, fries, or just on their own with a delightful dip. Today, I’m super excited to share my recipe for crispy Parmesan onion rings. Trust me; these will take your taste buds on a mini-vacation!
Nutritional Benefits of Onion Rings
Did you know that onions are not just tasty, but they’re also packed with health benefits? They are rich in vitamins C and B6, which are fantastic for your immune system. Plus, they contain antioxidants that may help reduce inflammation. And when you make them at home, you have full control over what goes into the recipe. This means less sodium compared to store-bought versions! So, let’s feel a bit good about indulging, shall we?
Fun Variations to Make
- Spicy Kick: For those of you who love a bit of heat, try adding some cayenne pepper to the flour mixture. Just a pinch will do!
- Herby Goodness: Mix in some dried herbs like oregano or Italian seasoning into the panko and Parmesan mix for a flavor boost.
- Vegan Version: Swap the eggs with a mixture of flaxseed and water and use dairy-free Parmesan. These alternatives work surprisingly well!
Your Easy and Delicious Crispy Parmesan Onion Rings Recipe
Ingredients
- 2 large onions (yellow or white), sliced into rings
- 1 cup grated Parmesan cheese
- 1 cup panko bread crumbs
- 1/2 cup all-purpose flour
- 2 large eggs
- 1/4 cup milk
- 1 teaspoon garlic powder
- 1 teaspoon paprika (smoked paprika optional)
- Salt and freshly ground black pepper, to taste
- Fresh parsley, chopped (for garnish)
- Vegetable oil or canola oil (for frying)
Cooking Instructions
- Prepare the onion rings: Peel the onions and slice them into approximately 1/4-inch thick rings. Carefully separate the rings and set them aside.
- Make dredging stations: In the first bowl, add the flour seasoned with salt, pepper, garlic powder, and paprika. In the second bowl, whisk together the eggs and milk until smooth. For the third bowl, mix the panko breadcrumbs and grated Parmesan cheese.
- Coat the onion rings: Dip each onion ring into the flour mixture first, ensuring a light, even coating. Next, dip it into the egg wash, letting any excess drip off. Finally, roll it in the Parmesan-panko mixture, pressing down lightly to make sure it sticks well.
- Cook the onion rings:
- For frying: Heat oil in a deep skillet or fryer to 350°F (175°C). Fry the onion rings in batches for about 2-3 minutes or until they turn golden and crispy. Remove them with a slotted spoon and let them drain on paper towels.
- For baking: Preheat your oven to 425°F (220°C). Place the coated rings on a baking sheet lined with parchment paper or a wire rack. Lightly spray or brush them with oil. Bake for 15-20 minutes, flipping halfway through, until they are crispy and golden.
- Make the dipping sauce: In a small bowl, mix sour cream (or mayonnaise) with chopped chives or parsley. Add lemon juice or ranch seasoning if you want to amp up the flavor. Season with more salt and pepper to your liking.
- Serve: Arrange your crispy Parmesan onion rings on a plate, garnish with freshly chopped parsley, and dive right in with your delicious dipping sauce!
Practical Tips to Enhance Your Cooking Experience
- When frying, don’t overcrowd the pan; it can dramatically lower the oil temperature, leading to soggy rings. Fry in batches for the best results!
- If you’re baking, a wire rack helps circulate air and keeps both sides crispy. If you don’t have one, placing them directly on parchment paper works too.
- Make sure to drizzle the baking rings lightly with oil to ensure they get that beautiful golden color when baked.
Equipment Needed
Before you dive into this delicious project, here’s what you’ll need:
- A good sharp knife for slicing the onions
- 3 mixing bowls (one for each dredging station)
- A slotted spoon or spider for frying
- A deep skillet or frying pot (if frying)
- A baking sheet for baking the onion rings
- Parchment paper for easy clean-up (if baking)
- A whisk for mixing eggs and milk
Frequently Asked Questions
- Can I use another type of cheese? Yes! Feel free to experiment with cheddar or even mozzarella for a different twist.
- Are these onion rings gluten-free? You can definitely make them gluten-free by using almond flour instead of regular flour and gluten-free panko!
- What’s the best way to store leftovers? Keep any leftovers in an airtight container in the fridge. They are best enjoyed fresh, but you can reheat them in the oven for a crispy finish!
- Can I prepare these ahead of time? Absolutely! You can coat the onion rings ahead of time and store them in the fridge until you’re ready to cook.
- What if I want to make these without frying? No problem! You can bake them, and they turn out just as crispy and delicious!
I’d love to hear how your crispy Parmesan onion rings turned out! Did you make any fun variations? Share your thoughts and photos with me, and don’t forget to pin this recipe on Pinterest for your next foodie adventure!
