Welcome to My Favorite Cheesy Garlic Breadsticks Recipe!
Hey there! If you’re anything like me, you can never say no to warm, cheesy breadsticks. There’s just something so comforting about that perfect combo of soft bread, garlic, and melty mozzarella cheese. I love making these cheesy garlic breadsticks because they’re not only super tasty but also great for sharing with friends and family during movie night, dinner, or any casual gathering. Plus, they’re surprisingly easy to whip up with just a handful of ingredients.
Why These Cheesy Garlic Breadsticks Are Awesome for You
Did you know that homemade cheese breadsticks can actually be a more mindful snack compared to many takeout options? You control what goes into them, from the quality of the cheese to the type of flour you use. Plus, olive oil brings some heart-healthy fats into the mix, and fresh garlic is fantastic for boosting your immune system. When you pair these with a simple marinara sauce made from fresh tomatoes, you’re also adding a bit of vitamin C and antioxidants to your meal.
Fun Ways to Make This Recipe Your Own
- Spice It Up: Want a little kick? Add red pepper flakes or a dash of cayenne to the garlic and olive oil before brushing over the dough.
- Herb Switch: Not a parsley fan? Try swapping fresh parsley with basil or oregano – both complement cheese wonderfully.
- Dairy-Free Option: Use your favorite dairy-free cheese and olive oil butter substitute to make this recipe vegan-friendly.
- Gluten-Free Twist: Try a gluten-free flour blend. Just keep in mind, the texture might be a bit different, but it will still be delicious!
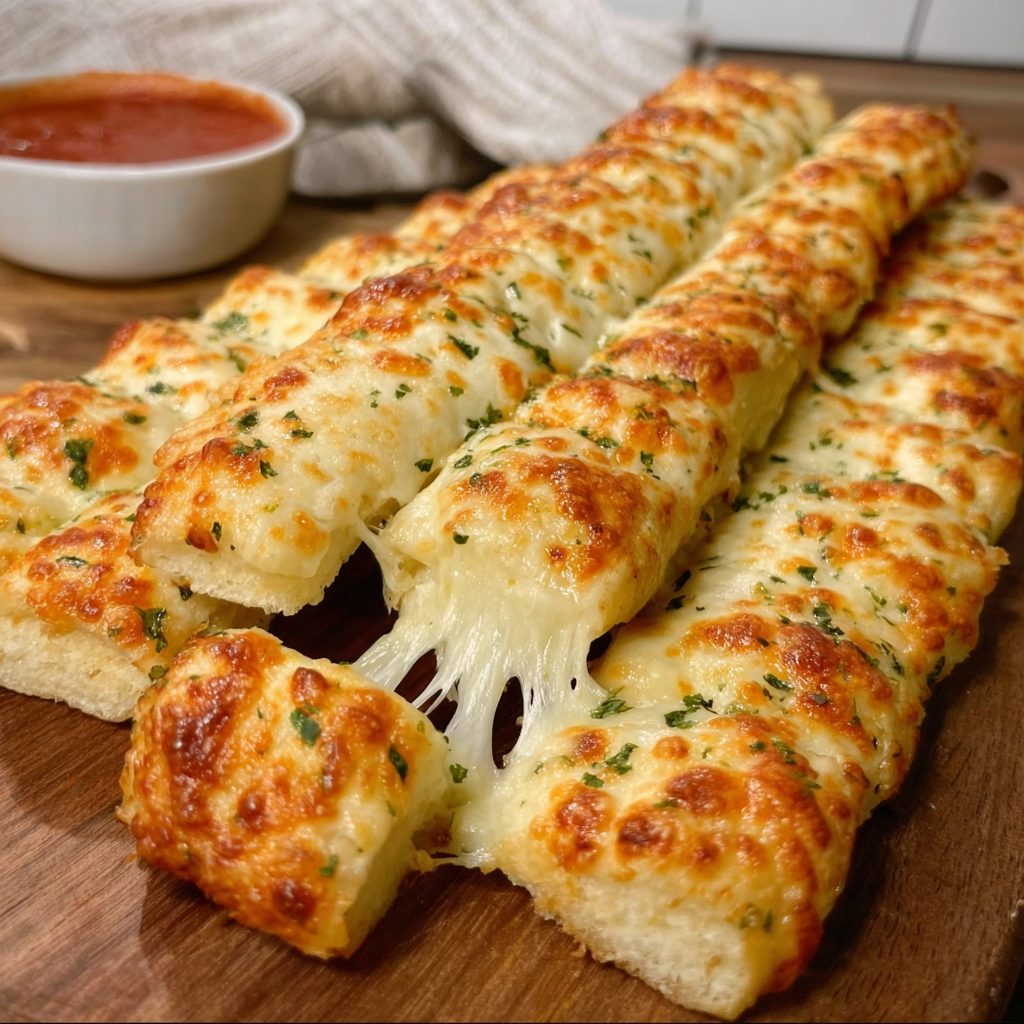
Cheesy Garlic Breadsticks Recipe
Ingredients You’ll Need
- 2 ¼ tsp active dry yeast (1 packet)
- 1 ½ cups warm water (110°F/45°C)
- 3 ½ cups all-purpose flour
- 1 tsp sugar
- 1 tsp salt
- 2 tbsp olive oil (plus a bit extra for brushing)
- 2 cups shredded mozzarella cheese
- ¼ cup grated Parmesan cheese (optional)
- 2 cloves garlic, minced (or 1 tsp garlic powder)
- 2 tbsp fresh parsley, finely chopped (or 1 tbsp dried parsley)
- Marinara sauce for dipping
Step-by-Step Instructions
- First, grab a small bowl and mix the yeast and sugar into the warm water. Leave it alone for about 5-10 minutes until it gets all foamy on top — that’s how you know the yeast is alive and kicking.
- In a big bowl, combine your flour and salt. Pour in your yeast mixture along with the 2 tablespoons of olive oil. Stir it all together until dough starts to form.
- Pour some flour on your kitchen counter and knead the dough for 7–10 minutes. This is important because kneading makes the dough smooth and elastic — perfect for those soft, chewy breadsticks.
- Put the dough into a lightly oiled bowl and cover it with a towel or plastic wrap. Let it rest in a warm spot until it doubles in size. This usually takes around 1 to 1.5 hours. The waiting is worth it!
- While you wait, preheat your oven to 425°F (220°C) and prepare a baking sheet by lining it with parchment paper or a quick oil spray.
- Once the dough has risen, punch it down gently and roll it out on your baking sheet into a big rectangle, about 12×16 inches.
- Brush the dough generously with olive oil or melted butter, then sprinkle the minced garlic and half the parsley evenly all over.
- Spread your shredded mozzarella cheese evenly on top, then sprinkle with Parmesan cheese if you’re using it, and finish with the rest of your parsley.
- Bake for about 12-15 minutes until the cheese is bubbly, golden, and the breadstick looks cooked through.
- Take it out and let it cool for a few minutes before slicing into breadsticks with a sharp knife or pizza cutter.
- Serve warm with that delicious marinara sauce for dipping. Yum!
Helpful Tips I Swear By
- If you want extra cheesy breadsticks, sprinkle a little more mozzarella just before baking.
- Rolling the dough too thin can make your breadsticks crispy—which is great if you like them that way! For softer sticks, keep the dough a bit thicker.
- Store leftovers in an airtight container; reheat them in the oven or toaster oven for the best texture.
- You can prepare the dough a day ahead and refrigerate it after the first rise. Just let it come to room temp before shaping and baking.
Equipment You’ll Find Handy
- Mixing bowls (small and large)
- Measuring spoons and cups
- Rolling pin (or your hands work too!)
- Baking sheet lined with parchment paper
- Sharp knife or pizza cutter for slicing
- Kitchen towel or plastic wrap to cover dough
- Oven mitts for safety
Common Questions About These Breadsticks
- Can I use instant yeast instead of active dry yeast?
Yes! If you use instant yeast, you can skip the proofing step – just mix it directly into the flour. - Is it okay to substitute mozzarella with another cheese?
Absolutely! Cheeses like provolone, cheddar, or a blend work well too – just be mindful of how they melt. - Can I make these breadsticks without garlic?
Sure, but garlic really adds that amazing flavor punch! You might want to add some herbs or seasoning instead to keep them tasty. - How long do these breadsticks stay fresh?
If stored in an airtight container at room temperature, they’re best eaten within 2 days. You can freeze leftovers for up to 1 month. - Can I make the dough in a bread machine?
Definitely! Use your bread machine’s dough cycle and then proceed with shaping, topping, and baking as described.
Give These Cheesy Garlic Breadsticks a Try!
Now that you’ve got the recipe and all my best tips, I encourage you to go ahead and make these cheesy garlic breadsticks for yourself or your loved ones. They’re simple, satisfying, and guaranteed to be a hit. When you give them a go, don’t forget to share your photos and thoughts with me over on Pinterest. I love seeing your kitchen creations and chatting about all things delicious!