
Hi There! Let’s Make Some Delicious Air Fryer Doughnut Balls Together
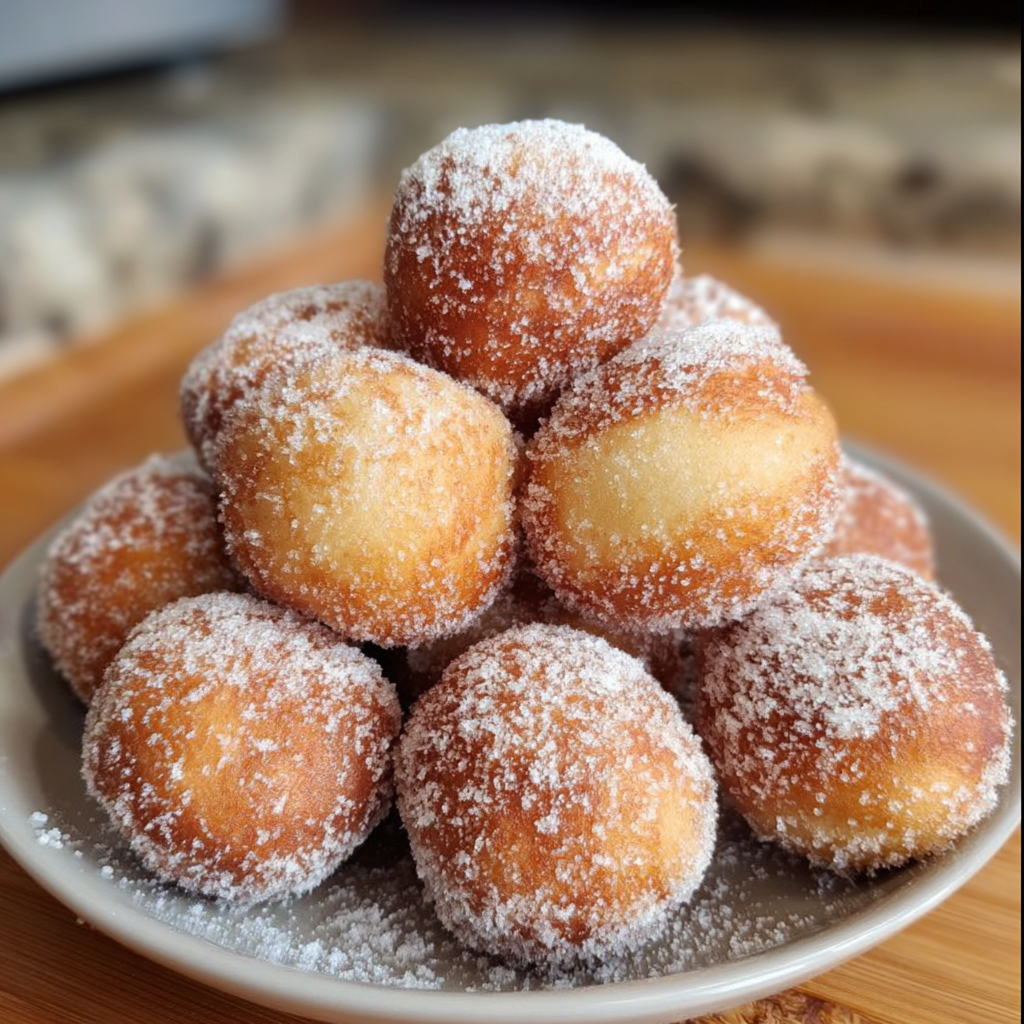
I’m so excited to share this fun and easy recipe with you for air fryer doughnut balls! These little treats are perfectly golden, soft on the inside, and sweetly coated with sugar. Plus, making them in the air fryer means you get that lovely crispy outside without deep frying in lots of oil. I always feel like it’s a little healthier and way less messy! If you love doughnuts but want a simple way to make them at home quickly, this is definitely a recipe you’ll want to try.
What’s Great About Making Doughnut Balls at Home?
First off, you can control every bit of what goes into them, so no weird preservatives or anything artificial. They’re super fresh, and honestly, nothing tastes better than warm doughnut balls straight from your air fryer—they’re like little clouds of happiness! You can get creative and make them with yeast for that classic doughnut texture or choose baking powder for a quick fix when you’re short on time.
Nutritional Benefits You Might Not Expect
While doughnuts are definitely a treat, making them yourself lets you tweak the ingredients to be a bit friendlier. For example, you could swap regular milk for almond or oat milk if you’re dairy-free. Using the air fryer cuts down on the oil compared to traditional deep-frying, meaning less fat overall. Also, since you shape and coat these by hand, you can control exactly how much sugar you use to suit your taste. And hey, adding vanilla can give a naturally sweet flavor without extra sugar.
Here’s How You Make These Air Fryer Doughnut Balls
Ingredients You’ll Need:
- 2 cups all-purpose flour
- 2 tablespoons granulated sugar (plus extra for coating)
- 1 packet (2 1/4 teaspoons) active dry yeast or 2 teaspoons baking powder (for quick dough)
- 3/4 cup warm milk (about 110°F / 43°C)
- 1 large egg
- 2 tablespoons unsalted butter, melted
- 1/2 teaspoon salt
- 1 teaspoon vanilla extract (optional, but I love how it lifts the flavor!)
- Cooking oil spray or a little vegetable oil (to grease the air fryer basket and for coating the dough balls)
Step-By-Step Instructions
- If you’re using yeast: In a small bowl, stir the yeast into the warm milk with 1 tablespoon of sugar. Let it sit for 5-10 minutes until it’s foamy on top. This means your yeast is active and ready! If you’re using baking powder, just skip this step and mix your dry ingredients together.
- Grab a large bowl and combine the flour, remaining sugar, salt, and vanilla extract.
- Add the yeast mixture (or the milk if you’re using baking powder), the egg, and melted butter into the dry ingredients. Stir until a soft dough forms.
- Lightly flour your surface and knead the dough for about 5 to 7 minutes. You’ll know it’s ready when it feels smooth and a bit elastic.
- If you used yeast, place the dough in a lightly oiled bowl, cover it with a clean towel, and let it rise somewhere warm for 1 to 1.5 hours. It should double in size. If using baking powder, skip this and go straight to the next step.
- Punch down the dough and divide it into small, even balls around 1 to 1.5 inches each. Roll each one smoothly between your palms.
- Preheat your air fryer to 350°F (175°C). Spray the air fryer basket lightly with oil so the doughnut balls don’t stick.
- Optionally, brush or spray a tiny bit of oil over the dough balls to help them brown nicely.
- Place the dough balls in the air fryer basket in a single layer and leave space between each ball.
- Air fry them for 8-10 minutes, flipping halfway through, until golden and puffed up.
- Right after cooking, toss or roll each doughnut ball in granulated sugar so they’re sweet and sparkly.
- Serve them warm for the best taste and enjoy every bite!
Handy Tips for Perfect Doughnut Balls
- If your dough feels sticky while kneading, sprinkle a little more flour, but try not to add too much or they’ll be dense.
- Don’t overcrowd the air fryer basket—this helps each ball cook evenly and get that perfect golden crust.
- If you want to get creative, try tossing the warm doughnut balls in cinnamon sugar instead of plain sugar—it’s such a cozy flavor!
- Leftovers? Store them in an airtight container at room temperature for up to two days. Reheat in the air fryer for a minute or two to freshen them up.
- Always use warm milk (about 110°F/43°C) with yeast—too hot and you’ll kill the yeast, too cold and it won’t activate.
Equipment You’ll Need
- Small bowl (to proof yeast)
- Large mixing bowl
- Measuring cups and spoons
- Whisk or spoon for mixing
- Lightly floured surface for kneading
- Clean towel to cover dough while it rises
- Air fryer (big enough to fit dough balls comfortably)
- Cooking spray or brush for oiling
- Optional: small brush for oil or butter application
Got Questions? Here Are Some Answers!
- Can I skip the yeast and just use baking powder?
Yes! The baking powder version is quicker because you don’t need to wait for the dough to rise. The texture will be slightly different but still tasty and soft. - What if I don’t have an air fryer?
You can bake these in a preheated oven at 350°F (175°C) for about 12-15 minutes or until golden. Just keep an eye on them so they don’t dry out! - Can I add flavors or fillings to these doughnut balls?
Absolutely! Before shaping the balls, you can add small bits of jam, chocolate chips, or even cream cheese inside for a nice surprise. - How do I store leftovers?
Keep them in an airtight container at room temperature for up to 2 days. For longer storage, freeze them in a single layer first, then transfer to a freezer bag for up to 3 months. - Can I make these vegan?
Yes! Replace milk with a plant-based version like almond or oat milk, use a flax or chia egg (1 tbsp ground flax/chia + 3 tbsp water), and swap butter for a vegan spread.
Let’s Get Cooking—and Sharing!
I hope you’re feeling inspired to try these doughnut balls soon. They’re such a joy to make and share with family or friends. If you whip up a batch, I’d love for you to pin this recipe to your Pinterest boards or tag me on social media—let’s spread the doughnut love together! Happy cooking!
