Welcome to My Favorite Garlic Bread Rolls Recipe!
Hey there! If you’re anything like me, you can’t resist the smell of warm, buttery garlic bread rolls fresh out of the oven. I love baking these at home because they’re soft, flavorful, and perfect as a side for dinner or as a tasty snack anytime. Plus, there’s something magical about homemade bread — the way it fills your kitchen with aroma and makes you feel so accomplished. Today, I’m excited to share my easy, step-by-step recipe for garlic bread rolls that anyone can make.
Why These Garlic Bread Rolls Are a Wonderful Treat
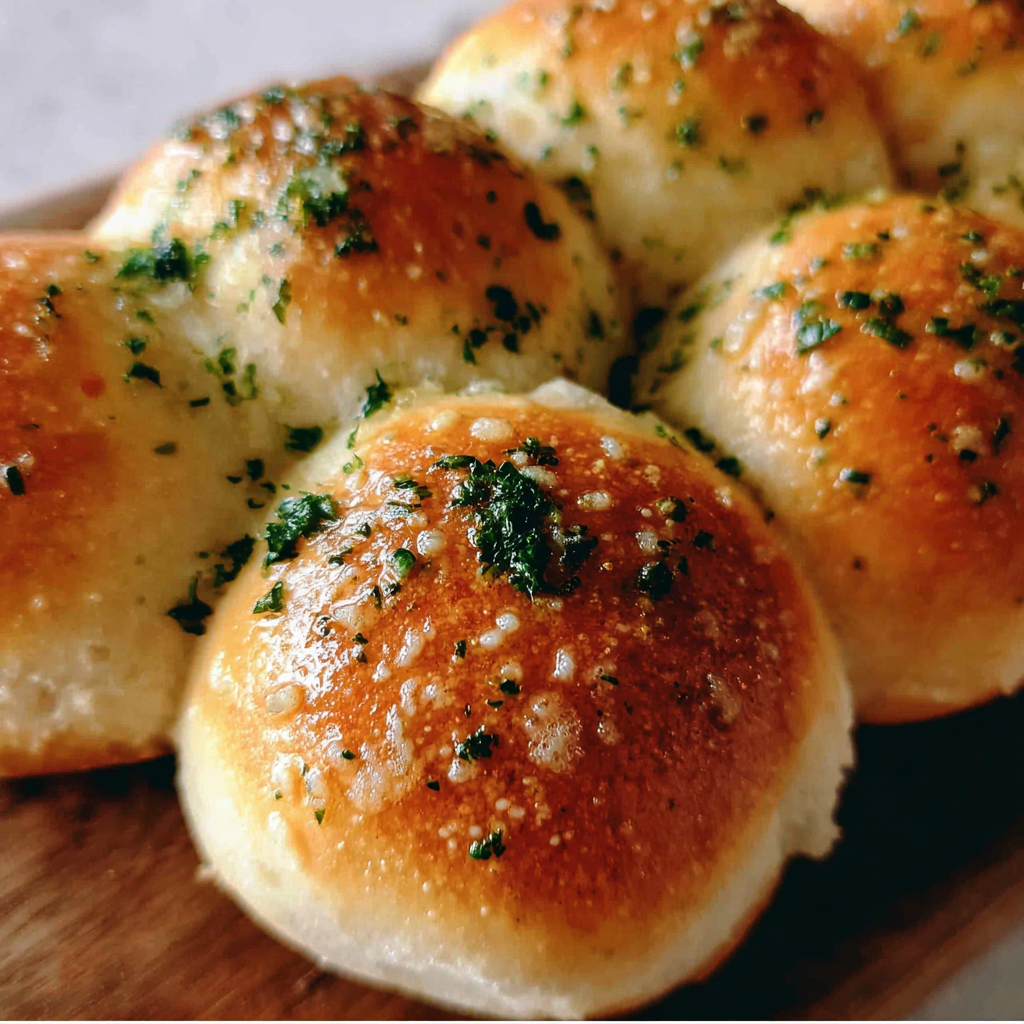
Garlic bread is a classic, but making it into rolls gives it a soft, fluffy texture that’s even more addictive than regular sliced bread. The garlic butter topping is fresh and fragrant, making every bite a delight. I especially enjoy brushing the rolls with melted garlic butter right after baking — you get that perfect balance of buttery richness and savory garlic flavor. Whether you serve these rolls alongside pasta, soup, or just enjoy them by themselves, they’re guaranteed to bring smiles around your table.
Nutritional Benefits
Now, while these rolls aren’t exactly a health food, they do have some redeeming qualities. Garlic is known for its anti-inflammatory and immune-boosting properties, so those cloves packed inside the buttery topping do more than just add flavor — they could help you feel your best too. Using real butter adds richness and essential fats, and if you opt for whole milk, you get a bit more calcium and protein in there. Plus, homemade bread means you avoid preservatives and control the ingredients yourself, which I always prefer!
Here’s What You’ll Need: Ingredients
- 3 cups all-purpose flour
- 2 ¼ tsp (1 packet) active dry yeast
- 1 cup warm milk (about 110°F/43°C)
- 2 tbsp sugar
- 1 tsp salt
- 3 tbsp unsalted butter, melted (for the dough)
- 4 tbsp unsalted butter, melted (for garlic butter topping)
- 4 cloves garlic, finely minced
- 2 tbsp fresh parsley, finely chopped
- Salt to taste (for garlic butter)
- Freshly ground black pepper (optional, a pinch)
Step-by-Step Garlic Bread Rolls Recipe
Step 1: Activate Your Yeast
In a small bowl, dissolve the sugar in the warm milk. Sprinkle the yeast on top and let it sit for 5-10 minutes until it becomes foamy. This means your yeast is alive and ready to work its magic!
Step 2: Make the Dough
In a large mixing bowl, combine the flour and salt. Add the yeast mixture and the melted butter for the dough. Stir everything together until you form a shaggy dough.
Step 3: Knead It
Flour a clean surface and knead your dough for about 8-10 minutes until it becomes smooth and elastic. If you have a stand mixer with a dough hook, this is a great time to use it for about 6-7 minutes.
Step 4: First Rise
Place your dough in a lightly oiled bowl, cover it with a kitchen towel or plastic wrap, and let it rise in a warm spot for about 1 to 1.5 hours until the dough doubles in size.
Step 5: Shape the Rolls
Once your dough has risen, gently punch it down to release the air. Divide the dough into 8-12 equal pieces and shape each piece into a smooth round ball.
Step 6: Second Rise
Arrange the rolls closely on a greased or parchment-lined baking sheet or pan. Cover and let them rise again in a warm place for 30-45 minutes until they nearly double.
Step 7: Bake the Rolls
Preheat your oven to 375°F (190°C). Bake the rolls for 15-20 minutes until they turn golden brown on top.
Step 8: Make the Garlic Butter
While the rolls are baking, melt the butter for the garlic topping. Stir in the finely minced garlic, chopped parsley, salt, and a pinch of freshly ground black pepper if you like.
Step 9: Brush on That Garlic Goodness
As soon as the rolls come out of the oven, brush them generously with the warm garlic butter all over the tops and sides. For extra flavor, wait a minute or two and give them another brush.
Step 10: Serve Warm and Enjoy!
These garlic bread rolls taste best warm—perfect with your favorite meal or as a standalone snack. Grab a roll, tear it open, and dig in!
Tips to Make Your Garlic Bread Rolls Even Better
- Keep your milk warm, not hot: Yeast loves warmth but can die if the milk is too hot. Aim for about 110°F/43°C to ensure a good rise.
- Don’t rush the rises: Letting the dough rise slowly and fully gives you the softest, fluffiest rolls.
- Use fresh garlic: Freshly minced garlic gives the best garlic punch. Avoid garlic powder here for that real flavor.
- Brush twice: Brushing the rolls twice with garlic butter means the flavor really soaks in deliciously.
- Store properly: Keep leftovers in an airtight container at room temperature for up to 2 days or freeze for longer storage.
Equipment You’ll Need
- Mixing bowls (small and large)
- Measuring cups and spoons
- Whisk or spoon for mixing
- Floured surface or silicone mat for kneading
- Stand mixer with dough hook (optional but handy)
- Kitchen towel or plastic wrap
- Baking sheet or pan lined with parchment paper or greased
- Basting brush for garlic butter
Common Questions About Garlic Bread Rolls
- Can I use instant yeast instead of active dry yeast? Yes! Instant yeast can be used directly with the dry ingredients; you might need to lessen the proofing time a bit.
- What if I’m allergic to dairy? You can swap the butter with a dairy-free alternative and use plant-based milk like almond or oat milk warmed to the right temperature.
- Can I add cheese to the rolls? Absolutely! Mixing some shredded mozzarella or Parmesan inside before baking or sprinkling on top with the garlic butter is amazing.
- How do I store leftover rolls? Store them in an airtight container at room temperature for up to 2 days. To keep longer, freeze and thaw when ready to use.
- Can I make the dough ahead of time? Yes! After kneading, you can refrigerate the dough overnight and shape the rolls the next day before baking.
Let’s Get Baking!
I can’t wait for you to try these garlic bread rolls—baking bread at home really is such a rewarding experience. If you make them, I’d love to hear how yours turned out! Share your photos and tips with me on Pinterest or drop me a message. Happy baking and enjoy every delicious, buttery, garlicky bite!