Dessert Lovers!
Are you ready to whip up something super fun and utterly delicious? Today, I’m sharing a delightful treat that combines the best of two worlds: sushi and dessert! Yes, you heard that right—I’m talking about Oreo Dessert Sushi! This sweet twist will impress your friends at gatherings and satisfy your sweet tooth in a unique way. I love how easy it is to make, and the kids absolutely go wild for it!
Why You’ll Love Oreo Dessert Sushi
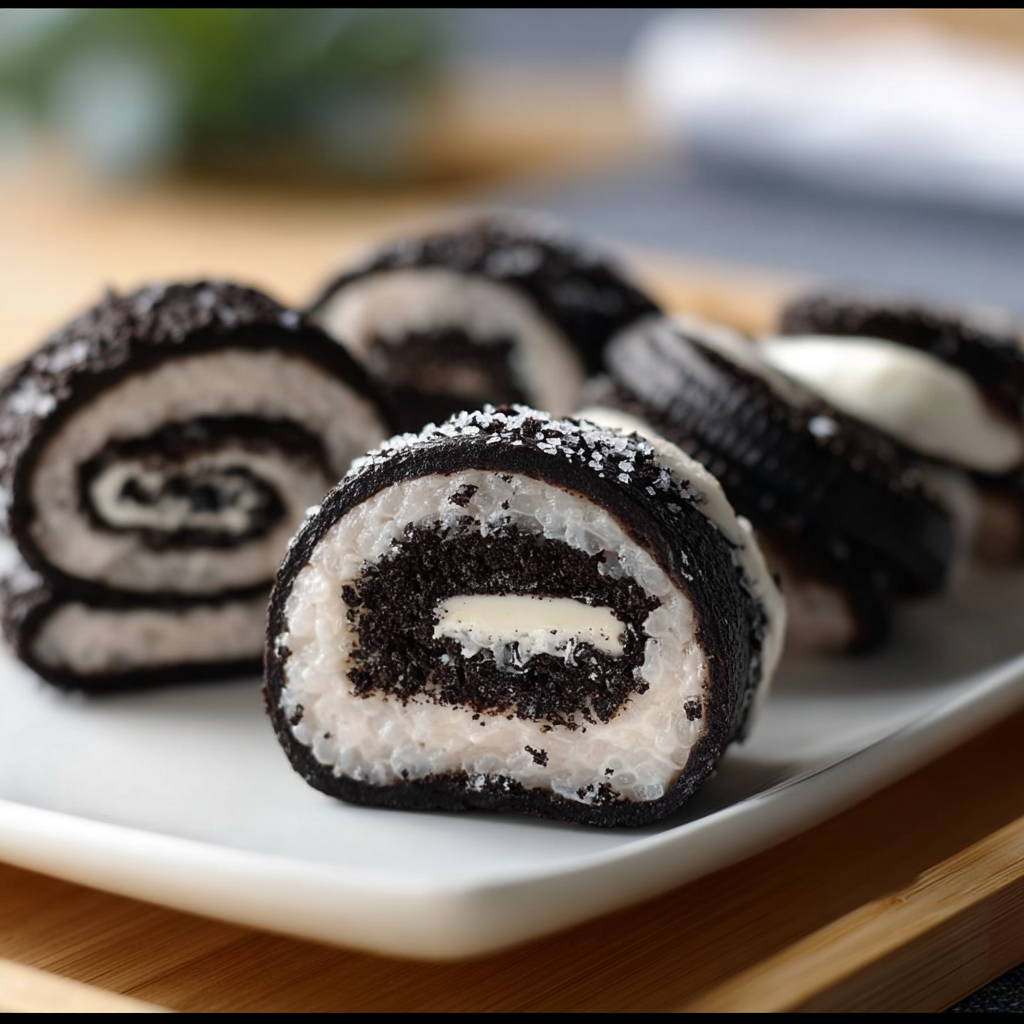
This dessert is not only a feast for the eyes but also a treat for your taste buds. You get that sticky, sweet sushi rice combined with that classic Oreo flavor. Plus, it’s a fun way to introduce kids (and adults!) to sushi in a completely different context. Just imagine bringing this colorful treat to a potluck or a movie night—everyone will be asking for your secret!
Nutritional Benefits
While we’re indulging in a dessert, it’s important to keep in mind the nutritional aspects as well! Sushi rice is rich in carbohydrates, giving you a quick energy boost. Coconut milk adds a creamy texture and brings healthy fats to the table, making it a tad bit nutritious (in moderation, of course!). And let’s not forget, Oreos have a way of putting a smile on your face, don’t you think? So go ahead and enjoy this dessert guilt-free—just don’t forget to share!
Adaptable Variations
Now, if you’re feeling adventurous or have dietary restrictions, here are a few ideas to customize your Oreo Dessert Sushi:
- Gluten-Free: Opt for gluten-free Oreos to make this dessert gluten-friendly!
- Plant-Based Delight: Use a dairy-free cream alternative instead of coconut milk for a vegan twist!
- Fun Flavors: If Oreos aren’t your favorite, try using other cookies like Nutter Butters, or even dip your dessert sushi in melted chocolate for that extra indulgence!
Oreo Dessert Sushi Recipe
Ingredients
- 1 cup sushi rice (short-grain sticky rice)
- 1/2 cup coconut milk
- 2 tablespoons sugar
- 1 teaspoon vanilla extract (optional)
- Pinch of salt
- 8-10 Oreo cookies (regular size)
- 1/2 cup crushed Oreo cookies (for the outer layer)
- Coarse sugar or edible sprinkles (optional, for garnish)
Instructions
- Start by rinsing the sushi rice under cold water until the water runs clear. This step helps remove excess starch, making your rice sticky just the way we want it!
- Cook the sushi rice according to the package instructions. Once it’s done, transfer it to a large bowl and let it cool off slightly.
- While the rice is still warm, carefully fold in the coconut milk, sugar, vanilla extract (if you’re using it), and a pinch of salt. Mix until all the rice is sweetened and coated evenly.
- Place a large sheet of plastic wrap or a bamboo sushi rolling mat on a flat surface.
- Spread half of that sweetened rice evenly into a thin rectangle on the plastic wrap. You want it to be about the size of a sushi roll—so nice and thin!
- Sprinkle a generous, even layer of crushed Oreo cookies over the rice, pressing them lightly to make sure they stick.
- Arranging whole Oreo cookies? Perfect! Place them in a line along one edge of the rice sheet.
- Now it’s rolling time! Using the plastic wrap or bamboo mat, carefully roll the rice around the Oreos, keeping it tight to maintain that delightful sushi shape. Seal the edges as you roll.
- Wrap your complete roll tightly in the plastic wrap and pop it in the fridge for at least 30 minutes. This helps firm everything up!
- When you’re ready to serve, take it out of the fridge, unwrap, and use a sharp knife to cut the roll into 1-inch pieces.
- Feeling fancy? Sprinkle some coarse sugar or edible sprinkles on top for that glamorous touch!
Practical Tips for Success
- Make sure not to overcook the rice; it should be sticky but not mushy. Check it often!
- If you have leftover rolled sushi, store it in an airtight container in the fridge, but eat it within 1-2 days for the best taste.
- Have fun with presentation! Use vibrant plates or garnish with fresh fruit for a pop of color.
Equipment Needed
Gather these kitchen essentials to make your Oreo Dessert Sushi:
- A medium saucepan for cooking the rice
- A large bowl for mixing
- Plastic wrap or a bamboo sushi rolling mat
- A sharp knife for slicing
- A spatula for spreading the rice
Frequently Asked Questions
- Can I use different types of cookie? Absolutely! You can swap Oreos for your favorite cookies; feel free to experiment!
- How should I store the dessert sushi? Keep it in an airtight container in the fridge and try to enjoy it within 1-2 days for the best quality.
- Is this recipe suitable for kids? Yes! It’s a fun, hands-on activity for kids to help with, and they’ll love the taste!
- Can I freeze these dessert sushi rolls? While it’s best fresh, you can freeze them wrapped well for up to a month. Thaw them in the fridge before serving.
- What can I use instead of coconut milk? Almond milk or any non-dairy milk will work. Just make sure to choose one with a thicker consistency for the best results!
Let’s Connect!
Did you make this fun dessert sushi? I’d love to hear how it turned out for you! Share your photos and experiences on Pinterest or drop a comment below. Happy cooking, and enjoy your sweet sushi adventure!